")
")
")

Am fighting against Bot registrations.
Using Joomshopping registration instead of Joomla but since today Bot registrations again.
I am Using Captcha but isn't helping.
Please can someone help me out?
|
18.11.2022 13:02
|
|
|
hedkandi1
Name: Dick
30.01.2014
Сообщения: 335
|
Am fighting against Bot registrations. Using Joomshopping registration instead of Joomla but since today Bot registrations again. I am Using Captcha but isn't helping. Please can someone help me out? |
|
18.11.2022 15:21
|
|
|
spike77

Name: Manfred
30.04.2015
Сообщения: 706
|
Spooky! A few days ago we had a massive spam attack via Acymailing. >20,000 registrations were made and countless e-mails sent within a few minutes. At the recommendation of Acy we have integrated hCaptcha. Since then it's over. I asked the admin to integrate hCaptcha it to registration of joomshopping in my post here as well. I hope this will be implemented. Regarding your problem: It may help (temporarily) to change the registration address. Regards, Manfred
Последнее изменение: 18.11.2022 15:22
|
|
18.11.2022 19:49
|
|
|
admin
(Support Team) Name: Admin
05.08.2010
Сообщения: 25942
|
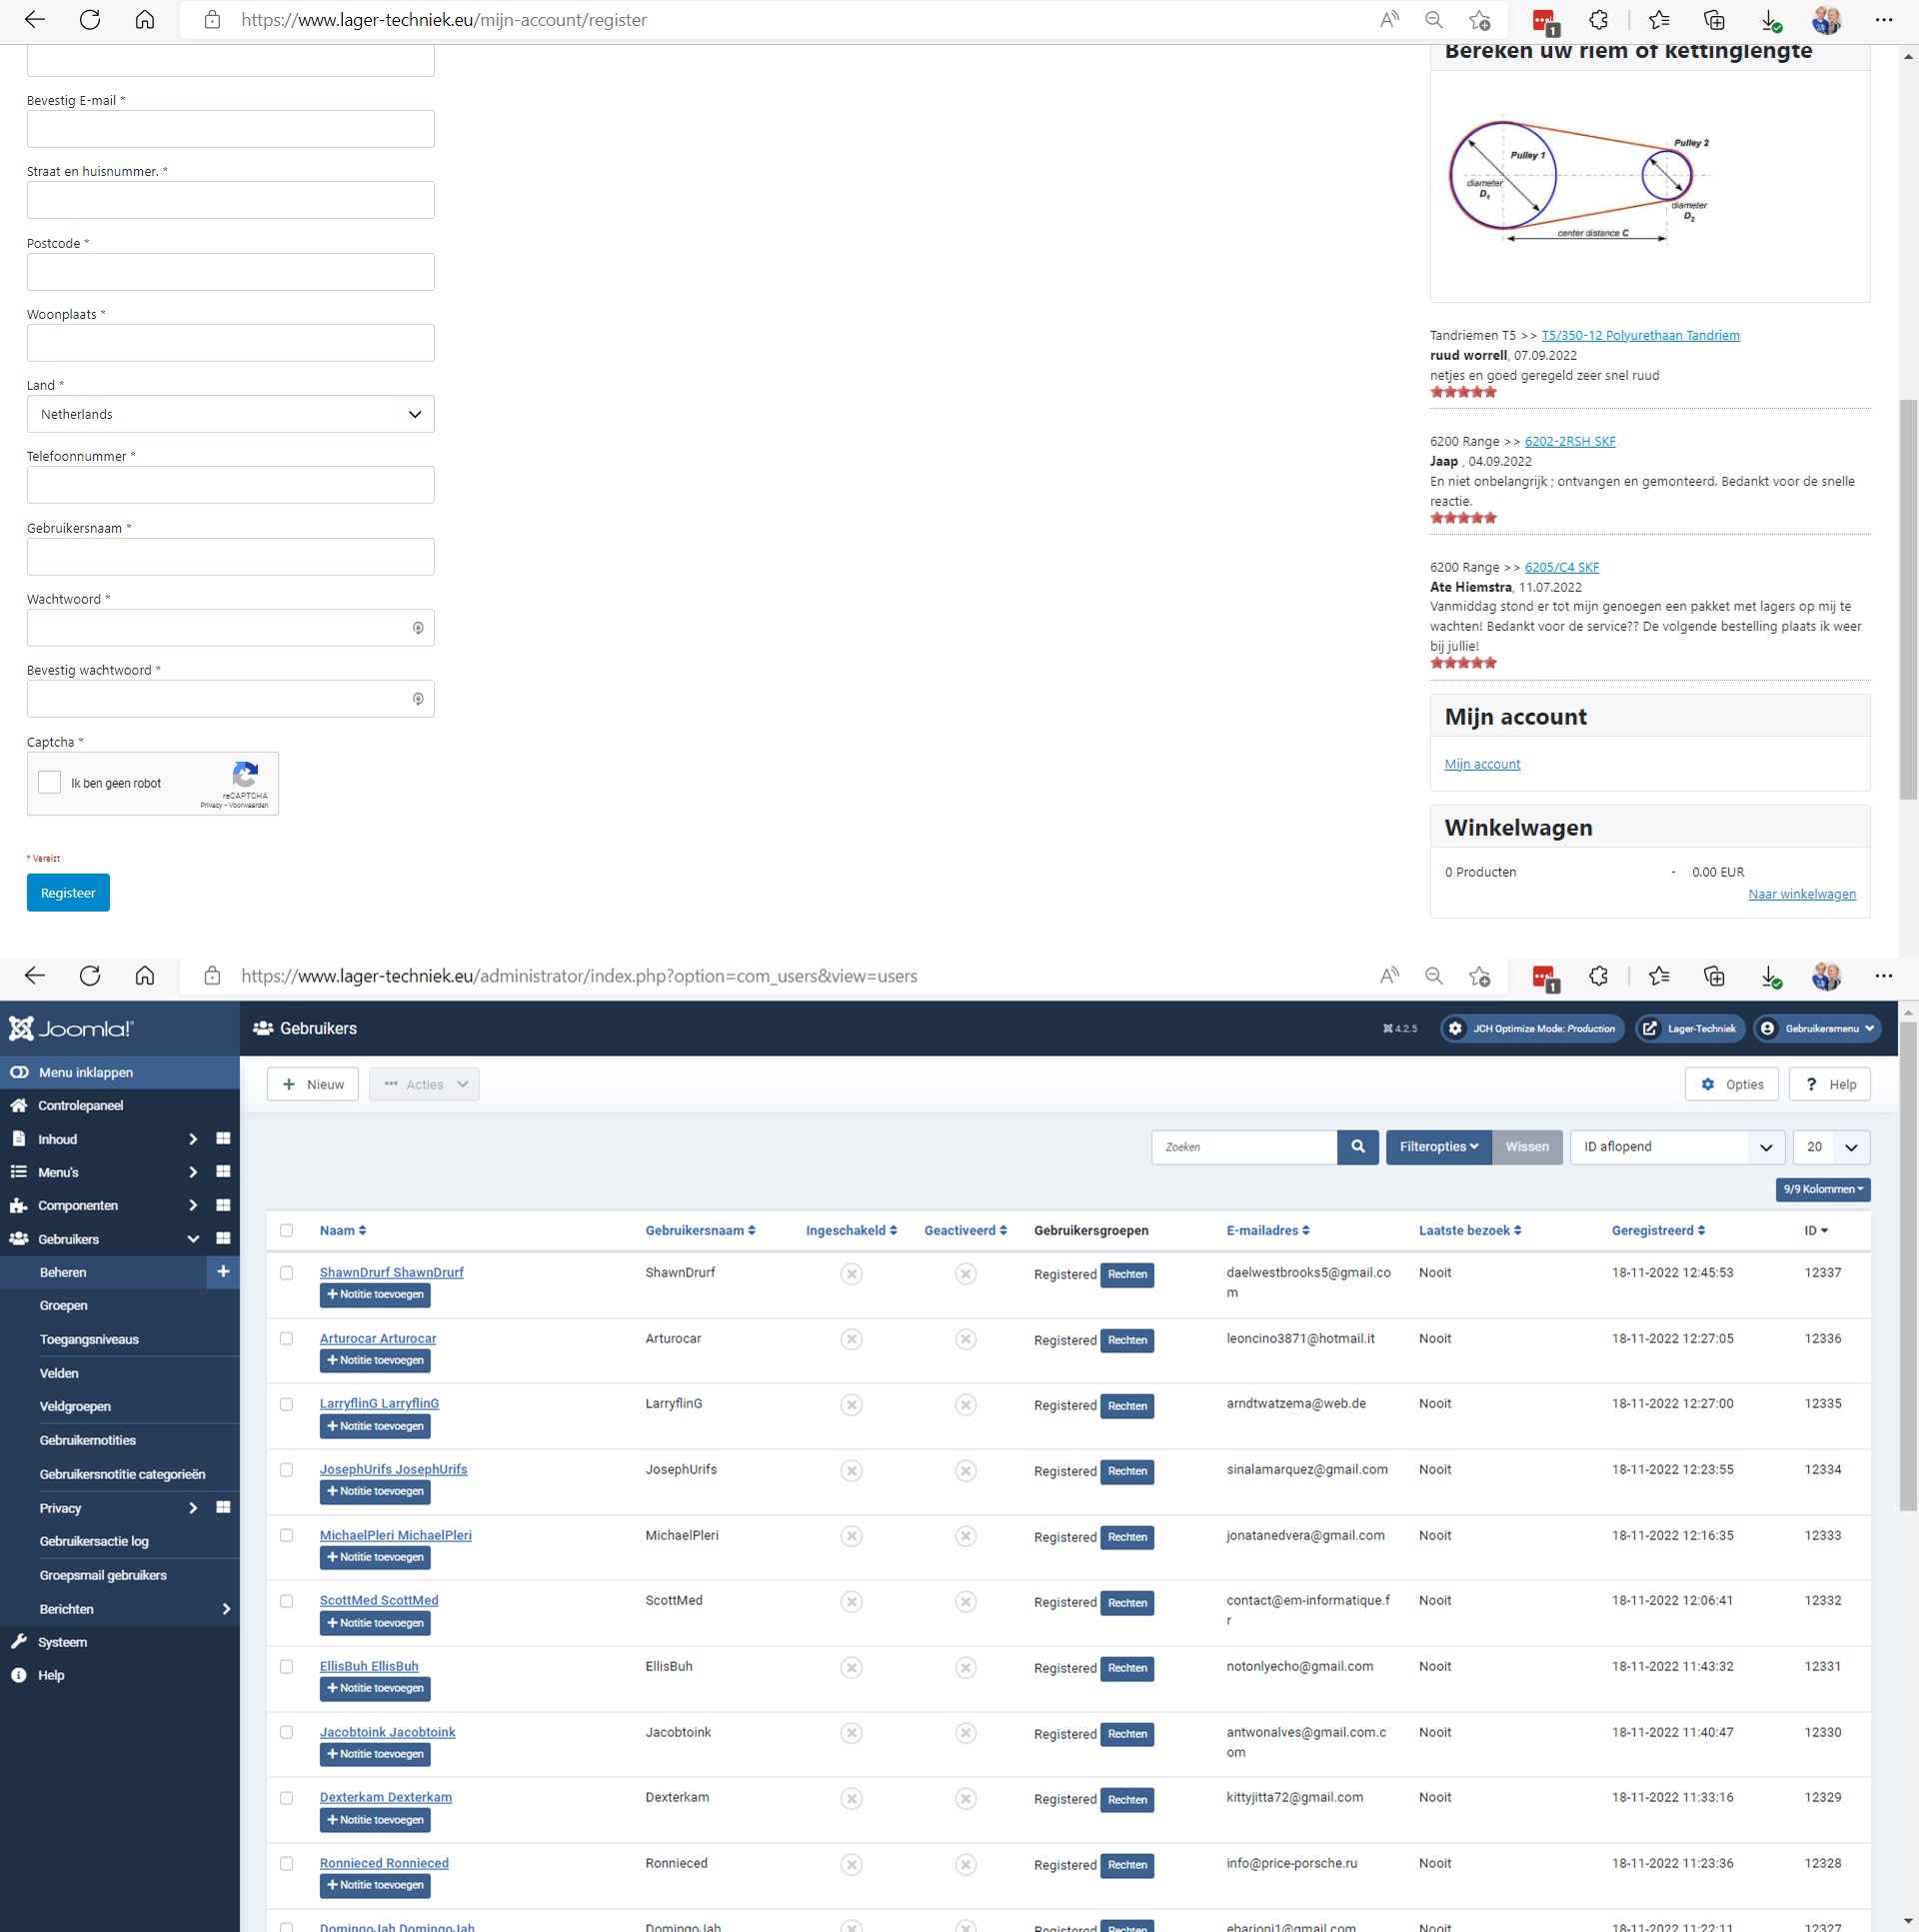
hedkandi1 - 18.11.2022 13:02 Am fighting against Bot registrations. Using Joomshopping registration instead of Joomla but since today Bot registrations again. I am Using Captcha but isn't helping. Please can someone help me out? 1 screenshot Joomshopping registration 2 screenshot Joomla registration 2 - disable joomla registraion (not configuration) - change template standart registration -> empty page
Последнее изменение: 18.11.2022 19:52
|
|
19.11.2022 09:20
|
|
|
hedkandi1
Name: Dick
30.01.2014
Сообщения: 335
|
Definitely Joomshopping registration as Joomla registration is "disabled", i.e. shows blank page thru view override. Specific Joomshopping fields are filled also. 
Website Url: https://www.lager-techniek.eu/index.php?option=com_users&view=registration
|
|
19.11.2022 09:36
|
|
|
admin
(Support Team) Name: Admin
05.08.2010
Сообщения: 25942
|
Right now we don't have the best captcha. |
|
19.11.2022 10:16
|
|
|
spike77
Name: Manfred
30.04.2015
Сообщения: 706
|
@admin what do you think about hCaptcha ? |
|
22.11.2022 11:30
|
|
|
hedkandi1
Name: Dick
30.01.2014
Сообщения: 335
|
admin - 19.11.2022 09:36 Right now we don't have the best captcha. Is that something you are working on and if yes when will there be a better version? |
|
23.01.2023 11:30
|
|
|
hedkandi1
Name: Dick
30.01.2014
Сообщения: 335
|
When will there be a better version? Got a mail from a customer. Using Chrome on a tablet, not able to Register dus to not showing Captcha? 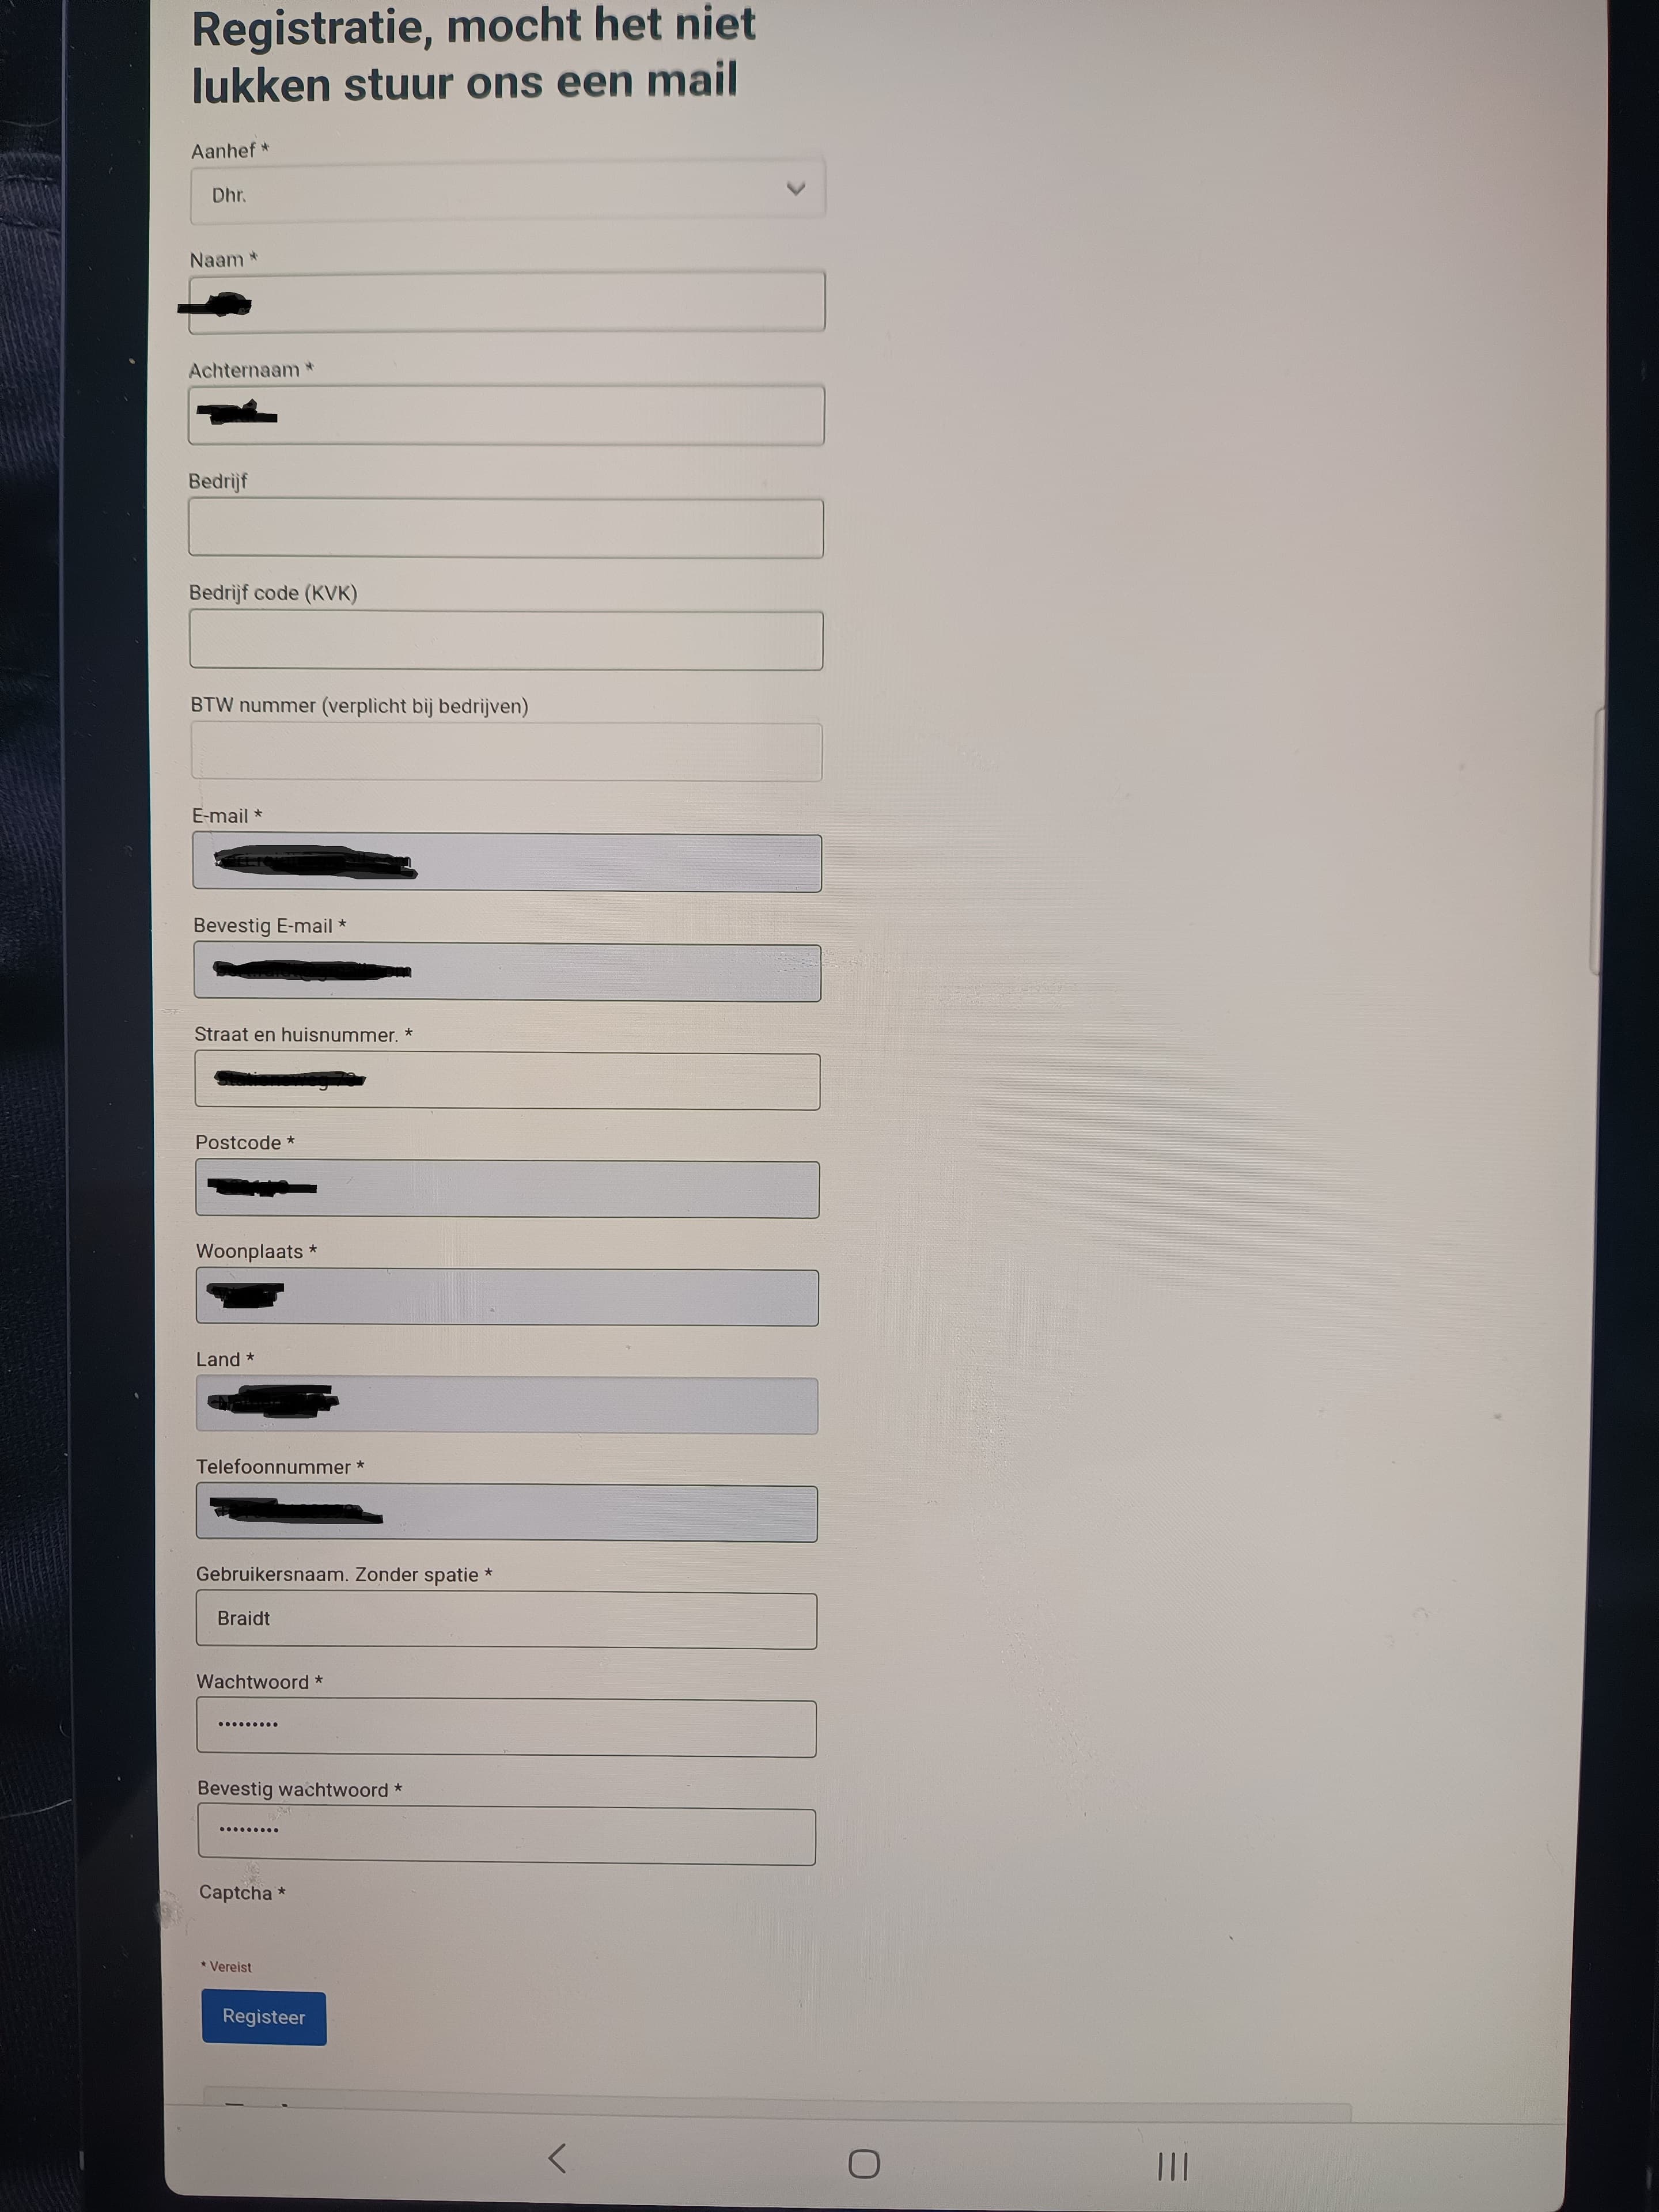
Последнее изменение: 23.01.2023 11:32
|
|
24.01.2023 08:25
|
|
|
admin
(Support Team) Name: Admin
05.08.2010
Сообщения: 25942
|
1. Disable plugin cookie block test. |
|
25.01.2023 15:10
|
|
|
hedkandi1
Name: Dick
30.01.2014
Сообщения: 335
|
That is it. How to solve? |
|
25.01.2023 16:04
|
|
|
admin
(Support Team) Name: Admin
05.08.2010
Сообщения: 25942
|
After plugin disabled works? |
|
25.01.2023 17:12
|
|
|
hedkandi1
Name: Dick
30.01.2014
Сообщения: 335
|
Yes works after disable but now there is no Cookie bar? Think i know.
Последнее изменение: 25.01.2023 17:17
|
|
25.01.2023 20:05
|
|
|
admin
(Support Team) Name: Admin
05.08.2010
Сообщения: 25942
|
Cookie bar - disable cookie. Use other Cookie bar or only simple message. (Not problem in addon or capcha)
Последнее изменение: 25.01.2023 20:05
|
|
06.11.2023 11:39
|
|
|
Ludinator
Name: Frannk Ludewig
07.01.2009
Сообщения: 147
|
Hallo, ich habe seit kurzem auch massive Spam-Registrierungen im Shop, trotz Captcha. Das Merkwürdige ist, der Spammer trägt in alle Felder willkürliche Buchstaben ein. Es scheint kein Feld validiert zu sein??? Im Anhang ein Screenshot wie so ein Eintrag aussieht. Der zweite Screenshot zeigt die Registrationsseite. Hat jemand eine Idee? Gruß Frank --------------------- Hello, I have recently had massive spam registrations in the shop, despite Captcha. The strange thing is that the spammer enters random letters in all the fields. No field seems to be validated??? Attached is a screenshot of what such an entry looks like. The second screenshot shows the registration page. Does somebody has any idea? Greetings Frank  register.jpg |
|
06.11.2023 14:31
|
|
|
admin
(Support Team) Name: Admin
05.08.2010
Сообщения: 25942
|
url? |
|
01.12.2023 08:36
|
|
|
Karren Brady
Name: Karren Brady
01.11.2023
Сообщения: 2
|
How Easy It Is to Install A Ceiling Fan Installing a smart ceiling fan may appear to be a difficult operation, but with the correct equipment and knowledge, it's actually a rather straightforward DIY project. Here's all you need to know about installing a smart ceiling fan. Before You Start There are a few things you must do before you begin installing the fan: switch off the power: Before beginning any electrical work, switch off the power to the room where the fan will be installed. You can accomplish this by turning the circuit breaker or disconnecting the fuse that controls the electrical circuit in the room. Gather your materials: A screwdriver, pliers, wire remover, and a ladder are all necessary instruments for installing a smart ceiling fan. Examine the ceiling: Examine the ceiling to check if it can support the weight of the fan and if there is an electrical box in the ceiling where the fan may be put. If there is no electrical box, one must be installed before the fan may be installed. Putting in the Fan After you've completed the necessary preparations, you can begin installing the fan. Here's how to go about it: Assemble the fan: Begin by putting the fan together according to the manufacturer's instructions. Screwing the blades onto the motor casing and installing any light fittings or other attachments is standard. Mount the bracket: After you've assembled the fan, you'll need to attach the bracket to the ceiling. The bracket secures the fan and connects it to the electrical box. Attach the bracket to the electrical box with the provided screws. Connect the wires: Next, connect the fan's cables to the ceiling wiring. This usually entails connecting the fan's black wire to the ceiling's black wire, the fan's white wire to the ceiling's white wire, and the fan's green or bare wire to the ceiling's ground wire. To securely connect the wires, use wire nuts. Hang the fan: After connecting the wires, hang the fan from the bracket. Typically, this entails connecting a hook or hanger to the bracket and suspending the fan from it. ➽➽➽ For more information about reviewed product: Ceiling Fans Living Buying Guide↞↞↞ 【Guide】 Secure the fan: Once the fan is hung from the bracket, use the provided screws to secure it to the bracket. Check that the ceiling fan in the living room is properly fastened and does not wobble or tremble. Install the blades: Finally, use the provided screws to secure the blades to the fan. To guarantee smooth operation, ensure that the blades are uniformly spaced and correctly balanced. Putting the Fan to the Test After installing the fan, reconnect the power and test it to ensure it is operational. Turn on the fan and double-check that it is rotating in the correct direction (typically counterclockwise for summer cooling and clockwise for winter heating). Using the pull chains or remote control, adjust the fan's speed and direction as desired. Conclusion Installing a smart ceiling fan is a reasonably easy do-it-yourself job that can keep your home cool and pleasant while also adding design and functionality. You can ceiling fan installation in a few hours if you follow the manufacturer's instructions and take the essential safety precautions. If you have any questions concerning the installation process, don't hesitate to contact a skilled electrician. See our Best ceiling fans product
Последнее изменение: 17.12.2023 08:01
|